Monday, May 20, 2019

Recipes for “Busy Day Cake” (Revisited!)

Busy Day Cake” is our (almost weekly) go-to recipe. We’ve enjoyed experimenting and coming up with these “spiced up” options:

You can see the original recipe on this earlier post: Busy Day Cake

Cinnamon Coffee Cake:
Before baking, sprinkle the batter with a mixture of ½ cup sugar mixed with 1 tsp cinnamon. Or add 1 Tbsp butter to the cinnamon/sugar mixture (working it in with a fork) and pour only half of the batter into the baking pan, sprinkle with half of the cinnamon/sugar mixture, then spoon remaining batter on top, and sprinkle with the remaining cinnamon/sugar mixture. Then bake as directed in original recipe.

Dark Chocolate Cupcakes:
For dark chocolate cupcakes (or cake), add ¼ cup baking cocoa and substitute ½ cup of strong, black coffee plus ¼ cup milk (for ¾ cup milk in the original recipe). Then bake as directed in original recipe.

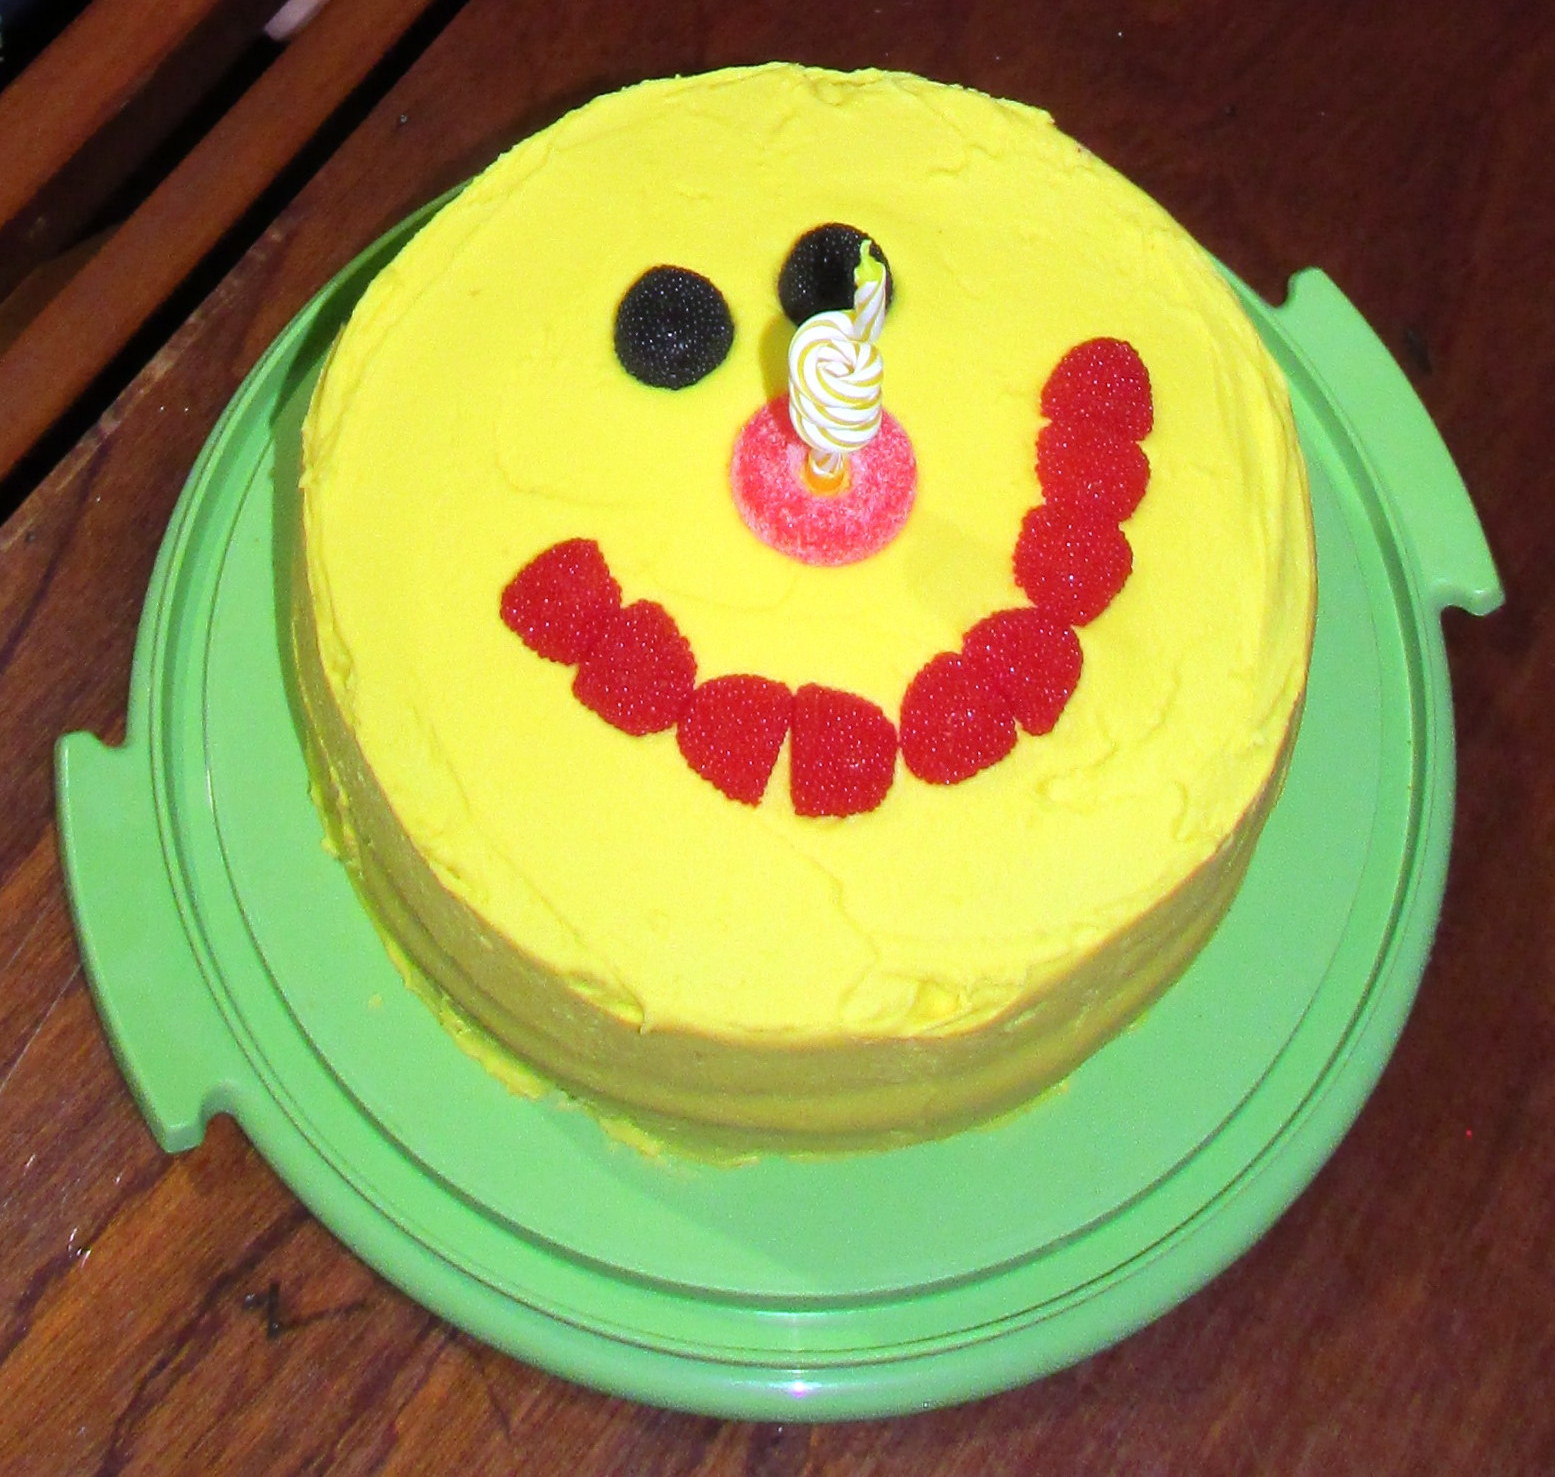
These were an early b-day gift for DJ’s teacher!

Saturday, November 24, 2018

Recipe for “Busy Day Cake”

(adapted from a childhood favorite in Better Homes & Gardens)
Great for cupcakes, too!

This recipe makes one 9x9-inch pan (or 12 cupcakes); I usually double the recipe and bake it in a 13x9-inch pan (or as 24 cupcakes).


Ingredients:

1 ½ cups all-purpose flour *
½ cup sugar
2 ½ tsp baking powder
½ tsp salt
¾ cup milk
 cup oil
1 egg
½ tsp vanilla extract

Directions:

Preheat oven to 375 degrees F (190 degrees C). Grease and lightly flour a 9x9-inch baking pan (or line muffin pans with paper liners).

In a medium mixing bowl, combine flour, sugar, baking powder, and salt. In a separate bowl, combine milk, oil, egg, and vanilla; beat with electric mixer until combined. Add dry ingredients and beat until combined, then beat an additional two minutes on medium speed. Turn batter into prepared baking pan (or spoon batter into muffin cups).

Bake cake for 25 to 30 minutes in the preheated oven. (For cupcakes, bake 15 to 20 minutes.) Cake is done when it springs back to the touch (or when a toothpick inserted comes out clean).

Spice it up by adding (blueberry) jam (as pictured above)! Pour only half of the batter into the baking pan, spoon jam onto it, then spoon remaining batter on top, and sprinkle sugar on top of it all. Then bake as directed.

Enjoy!

*Make your own cake flour by replacing 2 Tbsp of cornstarch in 1 cup of all-purpose flour!

Sunday, October 29, 2017

Recipe for Simple Butter Frosting

This recipe makes enough to (generously!) frost top and sides of one two-layer 8-inch round cake.


Ingredients:

6 Tbsp butter
4 cups powdered sugar
¼ cup (whipping) cream (+ 1 to 2 Tbsp, if necessary)
(food coloring)

Directions:

In a mixing bowl beat butter until light and fluffy. Gradually add about half of the powdered sugar, beating well. Beat in ¼ cup cream (and food coloring). Gradually beat in remaining powdered sugar. (Add 1 to 2 Tbsp cream, if necessary, to make frosting of spreading consistency).

Keep the frosted cake refrigerated, if necessary, until ready to serve.

Monday, December 19, 2016

Recipe for Quick Cupcake Frosting

This recipe makes enough to (generously!) frost two dozen cupcakes.


Ingredients:

½ cup (100 grams) butter
3 cups powdered sugar
½ tsp vanilla
2 to 3 Tbsp milk

Directions:

Cut butter into pre-measured powdered sugar. Add vanilla. Beat on medium speed until mixture is crumbly. Add milk – one tablespoonful at a time – beating constantly until reaching spreading consistency. Spread onto (cooled) cupcakes.

Wednesday, August 12, 2015

Recipe for Cocoa Oatmeal No-Bake Cookies

This recipe has been updated from the “bonbon” version (the one that calls for chocolate chips); this one substitutes cocoa (with modifications to the amounts of butter and sugar) instead. So these are even more like the ones Mommy used to make!

So much yummy-ness!

Ingredients:

1 ½ cup sugar
¾ cup butter (150 grams)
¼ cup milk
1 tsp vanilla extract
½ cup cocoa
2½ to 2¾ cups quick cooking oats (200 grams)

Directions:

In a saucepan over medium heat, mix together sugar, butter, and milk. Bring to a rolling boil, and boil for one minute, stirring constantly.

Remove from heat and stir in vanilla and then cocoa, and mix until well blended; add oatmeal.

(If the mix starts to get crumbly, stir in a teaspoon or two of hot water; the cookies should then set up fine.)

Drop by spoonfuls onto cookie sheets. (I prefer to use dinner plates and refrigerate the cookies so they get firm faster!)


Enjoy!

Sunday, April 5, 2015

Recipe for Pink Guava Jam

This is an easy recipe for pink guava jam!

Ingredients:

3 cups pink guavas, seeded and chopped
2 medium limes, juiced (about 4 Tbsp)
1 Tbsp apple cider vinegar
1 ½ cups sugar
(1 tsp salt)

This recipe is a combination of two other recipes: Basically, I started using one and then, when doing a last minute search, ended up finding one specifically for pink guavas – the kind that the tree in our back yard produced in abundance this year! We were pretty happy with the results of the combined recipe, so I’m posting it here.

Pink guavas, as we can testify from experience, are ripe when they either fall off the tree on their own or when they come off the tree when barely touched. When ripe, they will be pink on the inside and quite soft. The inside pinks range from light pink to bright pink.


Directions:

After washing the guavas, cut them in half and spoon out the middle sections containing the seeds. (The seeds are quite hard and unpleasant when accidentally bitten!) Chop the half guavas into “cubes” and measure the required quantity. (I tripled this recipe on our first try.)


Put the cut-up guava “meat” into the blender, add lime juice and cider vinegar, and pulse until relatively but not completely smooth. Pour into saucepan, add the sugar (and salt, if desired) and stir until well-mixed. (I had an eager 4-year-old assistant for this part!)


Bring the mixture to a boil, then reduce heat to medium-low and simmer for 30 minutes, stirring occasionally. The jam will be become a more intense pink at this point – and the whole house will smell wonderful!

After simmering for 30 minutes, remove from heat and let cool. Pour into jars and refrigerate until use. The jam will thicken as it cools.


OR: Pour into sterilized jars and process in boiling water for ten minutes (with at least one inch of water over top of jars). Remove from canner pot and place on a towel, allowing jars to cool. Listen for lids to pop, signifying airtight seal.

Note:
Last year the guava tree in the back yard gave us about 15 guavas. One year later, we’re “guesstimating” that we’ve harvested about 100! Very exciting! If I’d realized the harvest was going to increase almost ten-fold, I would’ve followed the advice given in one of the recipes I consulted: “Freeze if you cannot make jam on the same day – a good option as guavas mature at greatly varying times.”

Making jam brought back memories of three of my favorite people: my Mommy and my Grampa & Gramma in-love!


I “canned” the guava jam in a less-than-professional way, recycling jam jars I had on hand, hoping the seals would reseal – just like Grampa did during our last visit with him. I figured that whether they truly “sealed” or not, I could keep ‘em in the fridge – just in case… But they sealed – just like Grampa’s! Sweet memories…

Monday, September 8, 2014

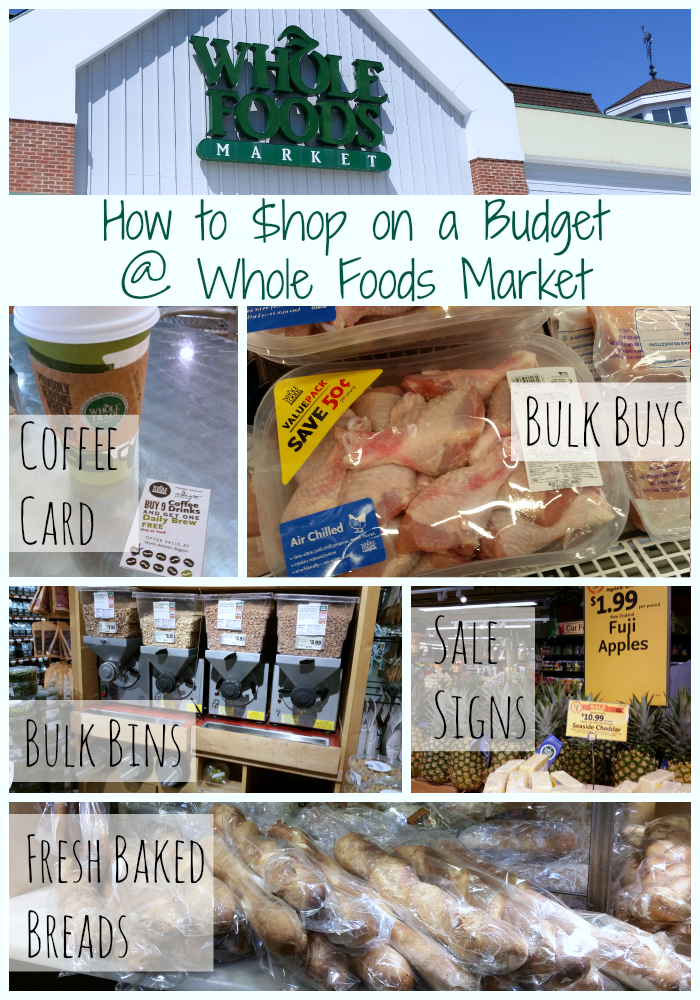
Reposting from “Happy, Strong Home” Blog: Wholesome Recipes & Money-Saving Tips

Reposting from my friend Julie at Happy, Strong Home:

How to Feed a Family (of 4) for $125/Week at Whole Foods

Julie says:
“When we switched to organic and natural foods about six or seven years ago, the sticker shock was brutal! We transitioned item by item every few months to adjust our menu without adjusting our budget too much.
 
I often hear how expensive it is to eat organic (not gonna lie, depending on what you buy, you can blow your budget on products with the “organic” label!).
 
But I’m here to show you how to create a menu to feed a family (of four!) on just $125 per week.”

Feed a Family on $125

We don’t have a Whole Foods Market in my neighborhood in Uruguay, but I’m planning to check out some of the recipes Julie shares in this post...


Thanks, Julie! J

Wednesday, April 10, 2013

Favorite Recipe: Corn Casserole

Also called corn pudding, corn spoonbread, or even corn cake, this recipe has been a favorite, often showing up at extended family potlucks!


Mix together dry ingredients* and set aside:

1 cup bread flour (or all-purpose flour)
1 cup yellow cornmeal
4 Tbsp sugar
1 Tbsp baking powder
½ tsp salt

In another mixing bowl, mix together:

1 can (15 to 16-oz) whole-kernel corn (undrained)
1 can (15 to 16-oz) creamed corn
3 eggs
½ cup corn oil
½ cup (melted) butter
1 cup plain yogurt (or sour cream)*

Combine dry and wet ingredients. Mix well. Pour into ungreased 1.5-liter (1.5-quart) glass bread pan (or casserole dish) and bake at 350 degrees F for at least one hour – until firm and top is golden brown. (May take longer than one hour.)
 
Awesome as left-overs, too!

Enjoy! (We surely do!)
 
 
*Frugal Notes:
  • The original recipe calls for Jiffy Corn Muffin Mix. My dry-ingredients substitution has worked marvelously – and will undoubtedly continue to serve us well in other areas of the world where Jiffy Mix doesn’t even exist!
  • I regularly substitute plain yogurt for sour cream – with great success!

Friday, March 29, 2013

Educational Freebies from Little Learning Lovies

Little Learning Lovies is offering some great educational freebies right now.

Two of my favorites are:

FREE -- PreWriting Set 1 -- PreK --- SAMPLE
pre-writing fun for my eager "K-2" student

FREE SAMPLER - Addition Clip Cards -- Farm Theme
fun addition practice for my rising 2nd grader

Download these and more -- totally free -- at Little Learning Lovies! (On the home page, go to "Free" in the left column.)
 
Don’t forget to enter the $50 giveaway, ending tonight, March 29, at midnight! Click here for complete details.

Thursday, March 28, 2013

Little Learning Lovies: April Packs over 70% off!

Beginning in April, Little Learning Lovies will be introducing a new set of monthly packs, each centered on a particular theme. All products contained in each “Lovie Pack” will be brand new, never-before-released games and activities. You’ll be able to purchase each pack for only $14 – but their retail value will always be $20 or more and contain at least eight different games and activities!
 
Here’s the exciting news for all us Bargain Hunters: To start off this project with a bang, Little Learning Lovies is offering the option for you to pre-purchase the April Pack(s) for over 60% off!
 
 
I’m personally very excited about April’s “Farm Time” theme in both the “PreK to Grade 1” and “Grades 1 to 3” Packs. Click on the farm picture above to get a sneak-peek of some of the games and activities included in the April Pack.
 
Now through March 31, you can pre-purchase the packs for only $8.50 each. Or do as I did and buy both the Little Lovies and Tiny Lovies Packs for only $12 – i.e. only $6.00 each!
 
Plus, I’m especially excited to offer coupon code b1g1 (all lowercase) to the readers of this blog, so you all can get an extra 10% discount! But don’t wait – these offers are valid only through March 31.
 
Happy shopping – and learning!
 
And don’t forget to enter the $50 giveaway, ending on March 29. Click here for complete details!

Wednesday, March 20, 2013

Today: FREE Italian Ice at Rita’s!

Happy “official” First Day of Spring!
 
Stop by Rita’s to celebrate with a FREE 10-oz cup of Italian Ice!


(You can read details in an earlier post, including a link to join Rita’s Birthday Club!)
 
We went mid-morning – and even saw a local news channel taping the event!

Yum!

Monday, March 18, 2013

Intro to "Little Learning Lovies" & Giveaway!

Very recently, I learned about Little Learning Lovies, and I'm excited about the wealth of material available on the site, especially for pre-K through 3rd grade!

Little Learning Lovies (an online store with its accompanying blog) is run by a mother, teacher, and homeschooler to four daughters who (in her own words) "do a great job of keeping her creatively inspired."

Little Learning Lovies :: Where Love and Learning Live Together!
 
Often, products are offered for free in downloadable form. (Downloadable, instead of printed, material in my opinion is especially helpful for those living overseas!) And you can keep up with special offers and other news via the Little Learning Lovies Blog.
 
New material is constantly being added, so you'll want to check often. You can even request that material on specific subjects be created! How's that for service?
 
 
I'm very excited to tell you about a great giveaway today: Enter via the Rafflecopter form (below) for an opportunity to win $50 to spend at Little Learning Lovies!

a Rafflecopter giveaway
 
The giveaway ends at midnight on 03/29.

Friday, March 15, 2013

Counting Apples Printable Set (60 pages) FREE!

We’ve been taking an eclectic approach to teaching our toddler some pre-school basics. In reality, his best teacher is his “Best Big Sister” – who, incidentally, says she wants to be a K-2 teacher when she grows up! That said, we’re constantly amazed at what our Little Man picks up as he listens in on what his sister is learning, finishing first grade and starting second.
 
We’ve worked a little on numbers and counting, so I was especially excited to find this counting freebie!


You can get the Counting Apples Printable Set (60 pages) free by using coupon code freehomeschooldeals. This offer is valid through March 20, 2013.
 
You can read all the details over at Free Homeschool Deals.
 
Enjoy!

Thursday, March 14, 2013

"Here We Grow Again!" Consignment Sale

It’s almost spring – and spring and summer consignment sales are underway. We’ve learned to dress our whole family for (a lot!) less by shopping at consignment sales – and by consigning clothes, too!
 
If you live in the Upstate, you can check out the semi-annual "Here We Grow Again" Consignment Sale, going on this week and next. Doors will open to the public on Friday, March 15, at 9:00 a.m. (That’s tomorrow morning!)
 
 
We love this sale! We’ve had great success dressing our children – in quality clothes – for great prices. And I’ve learned over the past three years that name-brand clothes tend to wear, and wash (and resist stains!), and keep so that I can re-sell them – and so savings really get multiplied!

Check the website ("Here We Grow Again" Consignment Sale) for all the details...

If you don’t live in the Upstate, I still have good shopping news for you: Check out an earlier post for tips on Saving on Clothes – including tips for saving by shopping online!

Wednesday, March 13, 2013

FREE Italian Ice at Rita's – on 03/20

Mark your calendars: The official First Day of Spring is only one week away. Stop by Rita's to celebrate with a free Italian Ice!
 
On Wednesday, March 20, from noon to 9:00 p.m., all open Rita's locations will be celebrating their annual First Day of Spring by giving away 10-oz. cups of Italian Ice – one per guest!
No coupon needed! Just show up!
 
 
Happy Spring!

Wednesday, March 6, 2013

DIY: A Simple Resurrection Object Lesson

Resurrection Sunday is just around the corner!
 
 
Three years ago, I posted A Simple Resurrection Object Lesson – a truly simple, Do-It-Yourself project that can help make the true meaning of Easter come alive for little ones as they participate in telling the story of Jesus’ Resurrection!
 

Click on this link to read all the details!

Blessings!

Tuesday, March 5, 2013

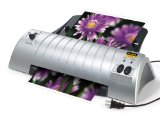
Scotch Thermal Laminator: now only $29.78 at Amazon!

The Scotch Thermal Laminator 2 Roller System (TL901) is on sale (for 63% off!) at Amazon.com – for only $29.78 (originally $80.49)!
 
Right now, the Scotch Thermal Laminator rates “#1 Best Seller” in Office Presentation Laminators (with 734 customer reviews).
 
 
This is a great tool for teachers or those who do crafts or work projects requiring laminating – like missionary teachers!
 
There are also discounted prices right now on the Scotch Thermal Laminating Pouches that go with this device:


100-Pack Scotch Thermal Laminating Pouches (8.9 x 11.4 inches)
Perfect for 8.5x11-inch papers & 8x10-inch photos!
Right now, $16.50 (usually $24.68)
 
Perfect for 5x7-inch photos!
Right now, $3.97 (usually $5.63)

20-Pack Scotch Thermal Laminating Pouches (4.37 x 6.06 inches)
Perfect for 4x6-inch photos!
Right now, only $4.88

Choose the Super Saver Shipping option at check-out and save even more!
 
You’ll want to act fast to take advantage of this great deal, keeping in mind that Amazon prices tend to change.

Monday, January 21, 2013

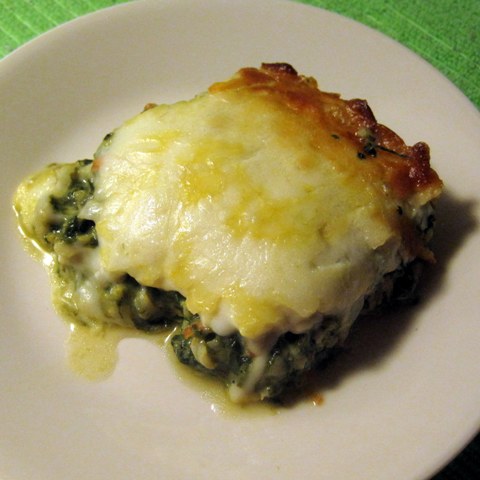
Recipe for Greens & Rice Casserole (Modified)

I recently modified the recipe for the Greens and Rice Casserole, using one pound of fresh spinach I had frozen and adding grated carrot. We were pleased with the results!

This really does make a great meatless meal!
 
I also cut the original recipe in half:

Ingredients:
1½ cups frozen spinach, cooked (measured after cooking, not before)*
1½ tsp dried onion
¼ tsp “Mrs. Dash” seasoning (optional)
½ cup carrot, grated
1½ cups cooked whole-grain rice (measured after cooking, not before)
1½ cups shredded cheese (1 cup medium cheddar + ½ cup mozzarella)
½ cup “broth” from cooking the spinach
3 eggs, beaten
½ tsp salt (optional)
 
*One pound of fresh spinach equals approximately 1½ cups cooked. I used Taylor Farms Organic Baby Spinach from Sam’s Club. (Definitely great quality!)

 
Instructions:
In a small saucepan, cook the frozen (or fresh) spinach in about one cup of water until tender. Reserve at least ½ cup of the “broth” for baking. In a large mixing bowl, combine all ingredients. Pour into an oiled 8x11-inch (or 9x13-inch) baking dish.
 
Bake at 325 degrees for 30 to 40 minutes, until set in the middle. (Test with a fork.)

Notes:
  • I sprinkle a generous portion of extra (mozzarella) cheese on top!
  • Next time, I plan to increase the grated carrot to one whole cup.
  • I’m still hoping to try this recipe with chopped or grated zucchini instead of greens...

Friday, January 18, 2013

Amazon Mom Appreciation Event

If you haven’t already done so, now is a good time to join Amazon Mom so you can take advantage of the Amazon Mom Appreciation Event:
 
 
The Amazon Mom Appreciation Event is an exclusive 20% off promo code: BABY2013 good for savings on thousands of eligible baby products in select colors and styles, for up to $100 in total savings.
 
Qualifying Amazon Mom members can use the code on eligible items from January 18, 2013 until 11:59 PM PST February 1, 2013. To shop the event, simply add qualifying baby products in select colors and styles to your shopping cart on or before February 1, 2013, and then enter promo code BABY2013 at checkout to apply the discount.
 
Do note that if you join Amazon Mom or Amazon Prime after this promotion has started on January 18, 2013, you will need to wait 24 hours for the promo code to become active.
 
You can learn more about Amazon Mom via this link.

ThredUp: $10 off your first order – until 01/21!

In yesterday’s post (Saving: On Clothes) I mentioned ThredUp, my favorite online consignment site.

Well, ThredUp has extended their latest offer until Monday, January 21. New customers get $10 off their first order by using coupon code SAVE10 at checkout.
 
Prices start at $2.99 per item, so you should be able to get as many as three items for around $6.95, which is the flat rate for shipping. (Or shipping is free with orders of $40 or more.)
 
 
ThredUp is an online consignment sale, offering gently-used brand-name kids clothing for very good prices. Many are even NWT: New With Tags! If you’re new to the site, keep in mind that inventory changes constantly; you’ll want to check back often to see what’s been newly added...